
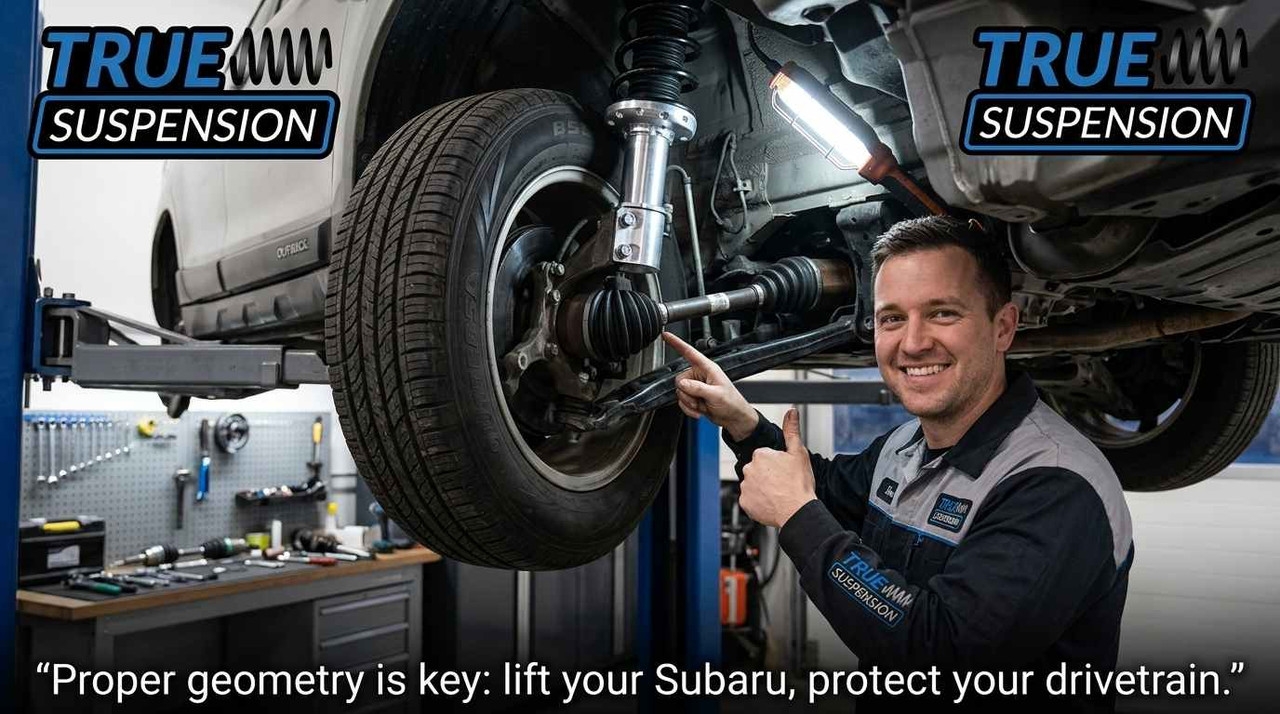
Most guides on lifting a Subaru tell you to bolt on spacers and call it a day. They skip the part where your CV axle snaps two months later, leaving you stranded with a broken drivetrain and a repair bill you never budgeted for.
That is not what this guide is about.
At True Suspension, we have helped thousands of Subaru owners- Outbacks, Foresters, Imprezas, Legacys, and Crosstreks- install suspension lift kits without wrecking their drivetrain. We have seen what goes wrong when the axle angle gets too steep, when alignment is ignored, and when the wrong spacer lift gets bolted onto a full-time AWD platform.
This guide is built on that hands-on experience. We cover everything: the right lift height, CV axle stress limits, Subaru alignment specs, what a spacer lift actually does to your drivetrain, and how to protect your investment with the right parts from the start.
If you are planning to lift a Subaru Outback or lift a Forester, read every section before you buy anything.
Why Lifting a Subaru Is Different from Lifting a Truck?
Lifting a Subaru Outback or Forester is not the same as lifting a Chevy Silverado or a Ford F-150. Subarus run full-time all-wheel drive through a constant velocity axle system. That design is brilliant for traction, and unforgiving when the axle angle goes wrong.
When you raise the body of a Subaru, the front axle drops in relation to the wheel hub. This increases the operating angle of the CV joint. Every degree of added angle accelerates wear. Push past the safe threshold, and the CV axle fails, often without much warning.
Here is what makes Subaru builds uniquely technical:
- Symmetrical AWD means all four corners are mechanically linked; a failed front axle affects torque distribution to every wheel
- CV joint angles are tightly engineered from the factory; they have very little tolerance for modification
- Subaru vibration after a lift is almost always the first sign that axle bind is happening
- Subaru axle bind can appear at relatively modest lift heights, sometimes as low as 1.5 inches without the right components
Understanding this is not optional. It is the foundation of every good Subaru lift.
|
Factor |
Truck Lift |
Subaru Lift |
|
Drive system |
2WD or part-time 4WD |
Full-time AWD |
|
CV joint sensitivity |
Moderate |
High |
|
Safe lift range |
Up to 6"+ |
1" to 2.5" |
|
Alignment need after lift |
Recommended |
Essential |
|
Vibration risk |
Low at moderate lifts |
Present above 1.5" without correction |
|
Axle replacement risk |
Low |
High if angles ignored |
Understanding CV Axle Angles, The Number That Protects Your Drivetrain
The CV axle on a stock Subaru operates at a very shallow angle, typically between 0 and 15 degrees under normal driving conditions. That shallow angle is what allows the constant velocity joint to transfer torque smoothly without vibration.
When you lift a Forester or lift a Subaru Outback, the differential stays fixed to the subframe. The hub rises with the body. The result is a steeper axle angle, and that is where problems start.
Here is a breakdown of what happens at each angle range:
|
Axle Angle |
Condition |
Risk Level |
|
0° – 15° |
Factory range |
Safe, normal wear |
|
15° – 20° |
Common after a 1" lift |
Watch for early Subaru vibration |
|
20° – 25° |
Common after a 1.5"–2" lift |
Axle bind risk begins; check alignment |
|
25° – 30° |
Common after a 2"–2.5" lift |
High risk without offset spacers or corrective components |
|
30°+ |
Anything above 2.5" without correction |
CV axle failure, significant drivetrain damage likely |
The key insight here is that how you lift matters just as much as how much you lift. A 2" lift with the right suspension components, correct Subaru alignment specs, and proper strut spacers is far safer than a 1.5" lift slapped together with generic parts.
Subaru CV axle failures are not random events. They are the predictable result of poor lift execution.
What Is a CV Axle and What Does It Do on a Subaru?
Before you spend a dollar on a lift, you need to understand what you are protecting.
A CV axle, short for constant velocity axle,
is the shaft that carries engine power from the differential to the wheel hub. On a Subaru, each front wheel has its own CV axle shaft, and the rear wheels do too in most models.
What does a CV axle do?
It transmits torque at a constant rate even while the suspension moves up and down and the wheels turn left and right. It does this through CV joints, precision-engineered couplings packed with grease and sealed by a rubber axle boot.
Here is what the CV axle system on a Subaru includes:
- Inner CV joint, connects to the differential; handles more angular movement
- Outer CV joint, connects to the wheel hub; handles steering angles
- CV axle shaft, the steel rod that connects both joints
- CV axle boots, rubber covers that seal grease inside the joint
- CV axle boot clamps, metal clamps that hold the boot in place
Signs of a bad CV axle on a Subaru include:
- Clicking or popping noise when turning, especially on tight turns
- Subaru vibration when accelerating; CV axle failure symptoms include vibration under load
- Grease on the inside of the wheel or rim, a torn axle boot, or leaking
- Clunking noise over bumps, could indicate loose CV joint components
- Vibration while driving that gets worse at highway speeds
Understanding what a CV axle does is not just academic. It tells you exactly why angle management matters so much during a Subaru lift.
How to Lift a Subaru Outback or Forester Safely, The Step-by-Step Process
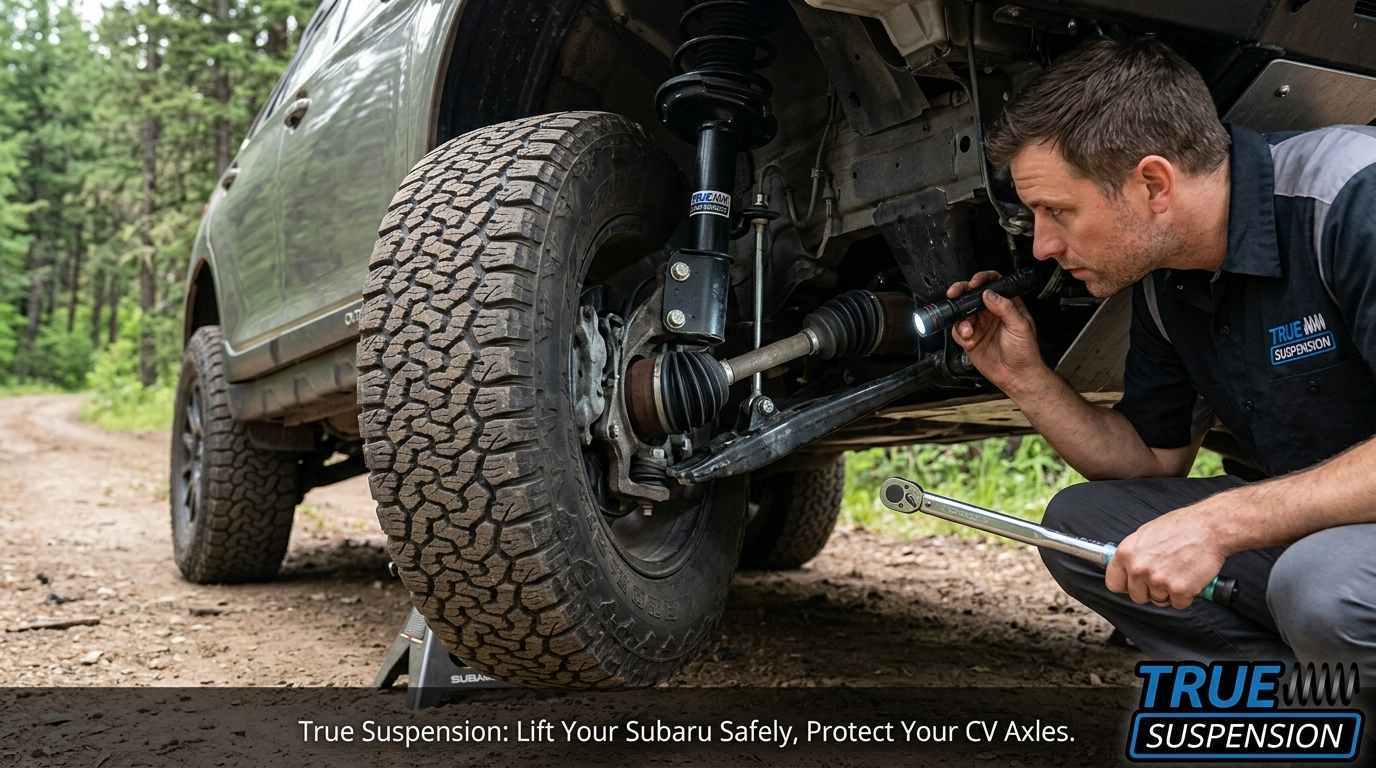
Safely lifting a Subaru requires a clear process. Skip any step, and you increase your risk of CV axle failure, poor handling, and expensive repairs. Here is exactly what we recommend at True Suspension:
Step 1: Choose the Right Lift Height
This is the single most important decision you make. For a Subaru running stock CV axles with no other drivetrain modifications, these are the safe lift limits:
|
Model |
Safe Lift Range |
Notes |
|
Subaru Forester (2009–2017) |
1" to 2" |
2" pushes the angle limit; alignment is critical |
|
Subaru Outback (2010–2017) |
1" to 2" |
Stock axles handle 1.5" very well |
|
Subaru Impreza (2008–2017) |
1" to 1.5" |
More sensitive, lower clearance |
|
Subaru Crosstrek (2013–2017) |
1" to 1.5" |
Factory has some lift built in |
|
Subaru Legacy (2013–2014) |
1" maximum |
Tighter CV geometry |
Our Subaru Impreza / Outback / Forester / Legacy / Crosstrek lift kits are engineered specifically for these models within these exact lift ranges.
Step 2: Select Quality Strut Spacers, Not Cheap Imports
Strut spacers are the most common way to lift a Subaru Outback or lift a Forester. They sit on top of the strut tower and push the suspension assembly downward, raising the body.
Not all spacers are equal. Cheap spacers made from low-grade polyurethane compress over time and throw off your ride height and your axle angle in unpredictable ways.
Our True Suspension strut spacers for Subaru are precision-machined to exact tolerances. That means your lift height is consistent, your suspension components maintain correct geometry, and your CV axle angles stay within the safe range.
For Subaru builds, we offer spacers in 1-inch, 2-inch, and 3-inch configurations, all built with the Subaru CV axle angle in mind.
Step 3: Get a Proper Alignment After Install
This is non-negotiable. Every Subaru lift requires a wheel alignment afterward, no exceptions.
Why does alignment matter so much for Subaru lifts?
When you raise the suspension, camber, caster, and toe all change. Even a 1" lift shifts these values enough to cause uneven tire wear and, critically, changes the effective axle angle under load.
Correct Subaru alignment specs after a 1"–2" lift target typically:
- Front camber: -0.5° to -1.0° (slight negative camber helps with AWD handling)
- Front toe: 0° to +0.10° (slight toe-in reduces tire wear)
- Rear camber: As close to factory spec as possible
- Rear toe: Factory specification, do not deviate
Proper alignment and balance after a lift keeps your CV joint working at its most efficient angle under normal driving. Skipping alignment is the fastest way to accelerate CV axle failure.
If you want to understand more about how alignment interacts with suspension mods, our blog on lift kits vs leveling kits explains the geometry in detail, and while it is written for trucks, the axle angle principles apply directly to Subaru builds.
Step 4: Inspect and Replace CV Axle Boots Before the Lift
Before you install any lift, pull the wheels and inspect your CV axle boots. If they are cracked, torn, or showing grease leakage, replace them before the lift. Adding stress to already-compromised CV axle boots is a guaranteed path to CV joint damage.
A torn axle boot allows grease to escape and dirt to enter. Within weeks, that leads to bad CV axle symptoms, clicking, vibration, and eventually complete joint failure.
CV axle boot repair is inexpensive. CV axle replacement is not. Do the check. Do it before the lift.
Step 5: Test Drive and Monitor for Subaru Vibration
After the lift and alignment, do a structured test drive:
- Drive at 20 mph on a flat surface, listen for Subaru vibration
- Do slow, full-lock turns in a parking lot, listen for clicking noise that indicates bad CV axle symptoms
- Drive at highway speed, check for vibration that increases with speed
- Accelerate hard from a stop; CV axle failure symptoms often show under load
If you hear or feel anything unusual, go back to the shop before putting more miles on the vehicle. Catching axle bind early saves your CV axle shaft and your differential.
Pros and Cons of Lifting a Subaru vs Keeping It Stock
|
Lifted Subaru |
Stock Subaru |
|
|
Ground clearance |
Significantly improved |
Factory (8"–8.7" depending on model) |
|
Off-road capability |
Better approach angles, more tire clearance |
Limited |
|
CV axle stress |
Increased, managed with proper parts |
Minimal |
|
Tire options |
Larger all-terrain tires possible |
Limited to factory sizes |
|
Alignment cost |
One-time after install |
None |
|
Ride quality |
Slightly firmer |
Factory tuned |
|
Drivetrain risk |
Low with correct kit |
None |
|
Cost |
Kit + alignment + install |
Zero |
The verdict: A properly executed lift on a Subaru Outback or Forester is absolutely worth it. The keywords are properly executed. The risk is not in lifting; it is in lifting badly.
Common Mistakes That Destroy CV Axles on Lifted Subarus
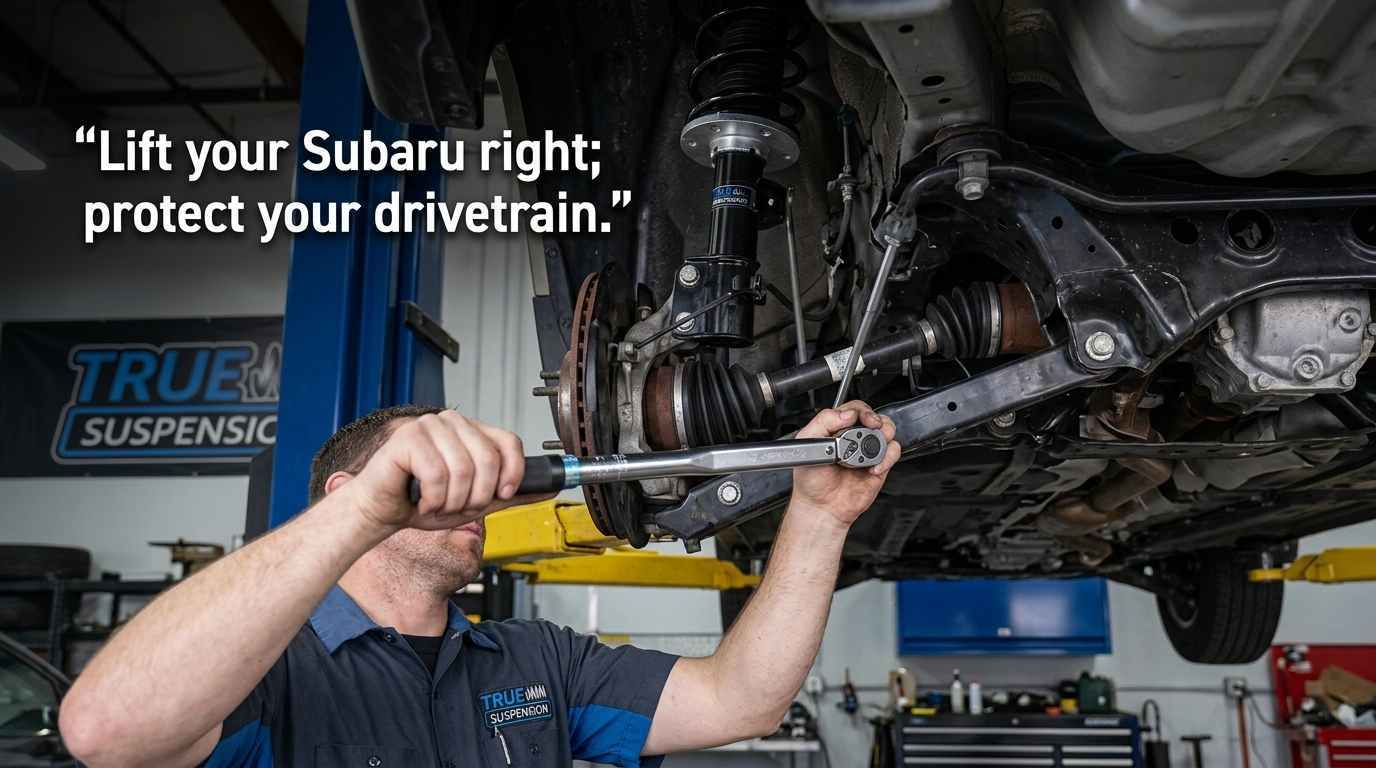
Understanding what goes wrong is just as important as knowing what to do right. Here are the most common Forester axle problems and Subaru axle bind causes we see:
Mistake 1: Lifting Too High Without Corrective Components
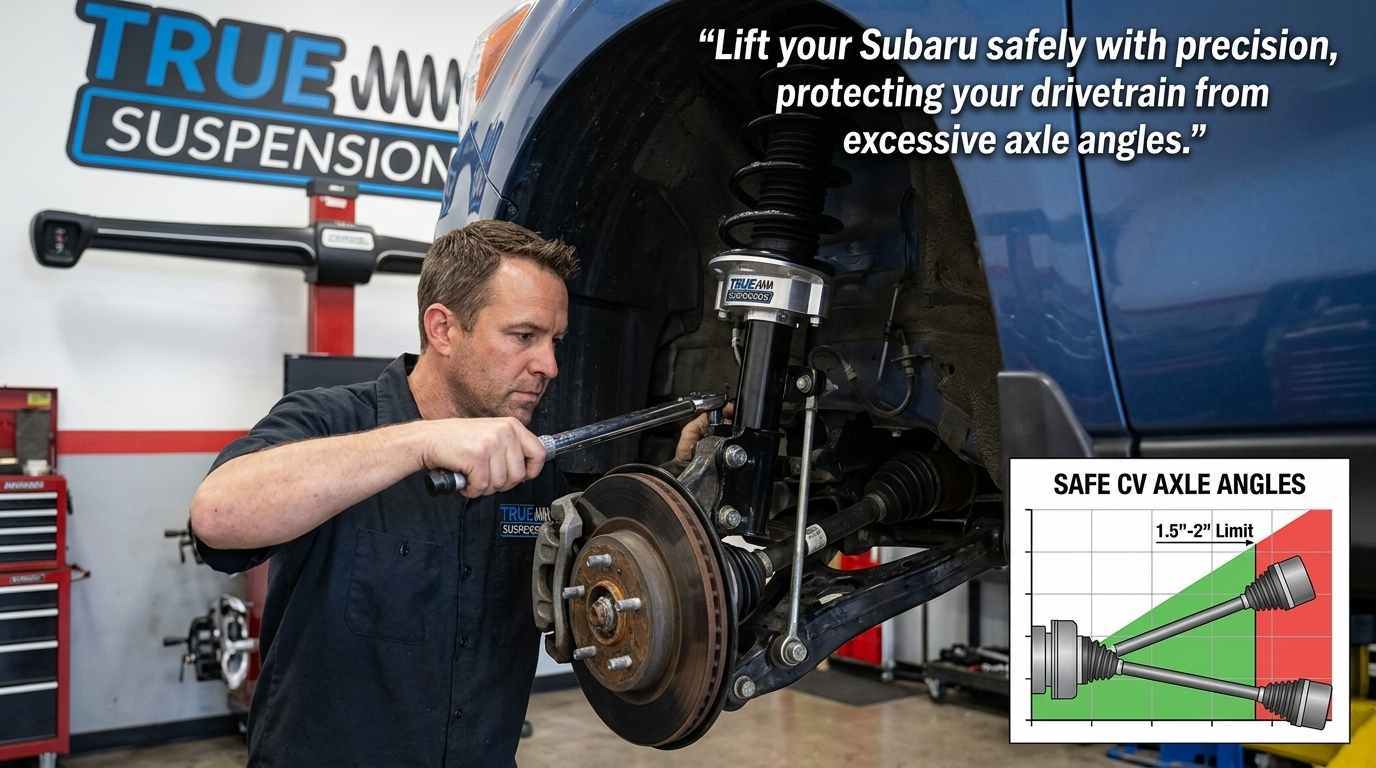
Going beyond 2" on a Subaru without addressing the resulting axle angle is the most common mistake. Stock CV axles are not designed to operate above roughly 25 degrees continuously. Sustained angles above that cause accelerated wear, axle bind, and eventual failure.
Mistake 2: Skipping the Alignment
We see this constantly. Someone installs a spacer lift, drives for three months, and then wonders why their Subaru vibration started. The answer is always alignment. After any lift, even 1", Subaru alignment specs must be reset.
Mistake 3: Using Unequal Front and Rear Lift Heights
If you lift the front 2" and the rear 1", your driveshaft angle and CV axle geometry become uneven. This causes Subaru vibration under load and puts asymmetric stress on your drivetrain components. Always lift front and rear equally or follow model-specific guidelines.
Mistake 4: Using Generic Spacers Not Designed for Subaru
Generic spacers made for "universal fit" applications do not account for Subaru's specific strut tower geometry. They can sit off-center, introduce misalignment before you even start the car, and compromise your CV joint angles from day one.
Our 2-inch Subaru lift kit is designed specifically for Subaru strut tower geometry; it fits correctly, sits flush, and maintains proper suspension system geometry from the moment it goes on.
Mistake 5: Ignoring the CV Axle Boot
A cracked or leaking CV axle boot on a lifted Subaru fails faster than on a stock vehicle because the CV joint is operating at a steeper angle and generating more heat. Inspect CV axle boots every 6 months on a lifted Subaru. This is not optional maintenance; it is essential.
For a deeper look at how suspension modifications interact with drivetrain health, our blog post on the top 10 suspension upgrades that improve towing safety covers the broader picture of what happens when suspension geometry changes without drivetrain awareness.
How True Suspension Subaru Lift Kits Protect Your CV Axles?
At True Suspension, we engineered our Subaru lift kits with the CV axle problem at the center of every design decision. Here is what sets our kits apart:
Precision-Machined Spacers
Our Subaru strut spacers are CNC-machined to exact height tolerances, within 0.1mm. That precision matters because even a 2mm deviation from the target lift height changes your axle angle enough to increase wear rates. Cheap spacers are often cast, not machined, and can vary by 3–5mm from unit to unit.
Correct Material Specification
We use high-grade 6061 aluminum alloy for our Subaru spacers. This material does not compress or creep under load, unlike polyurethane, which deforms over time and introduces progressive alignment deviation. Aluminum holds its height for the life of the vehicle.
Model-Specific Engineering
Our kits are not "compatible with most Subarus." They are built for specific model-year combinations:
- Subaru Impreza 2008–2017
- Subaru Outback 2010–2017
- Subaru Forester 2009–2017
- Subaru Legacy 2013–2014
- Subaru Crosstrek 2013–2017
Each of these platforms has slightly different strut tower geometry, different factory CV axle operating angles, and different suspension components. We engineer for each, not for all at once.
Included Hardware
Our kits come with all required hardware, bolts, washers, and mounting hardware, spec'd to factory torque ratings. You will not be hunting for missing hardware at the shop.
If you want to understand how our lift kits compare to other suspension modification approaches, our guide on lift kits vs leveling kits and our piece on top 10 ways to maintain factory ride quality after installing a lift kit give you the full picture of what good suspension engineering looks like.
CV Axle Replacement Cost vs Prevention, The Math Is Simple
Let us talk real numbers. Here is what bad lift execution costs vs what prevention costs:
|
Item |
Cost Range |
|
CV axle replacement (single front axle, parts + labor) |
$350 – $600 |
|
CV axle replacement (both front axles) |
$650 – $1,100 |
|
Differential damage from axle bind |
$800 – $2,500+ |
|
Wheel alignment after lift |
$80 – $150 |
|
True Suspension Subaru lift kit (1") |
Under $200 |
|
True Suspension Subaru lift kit (2") |
Under $250 |
|
True Suspension Subaru lift kit (3") |
Under $300 |
The math is clear. Spending the right amount on a quality lift kit and a proper wheel alignment costs under $400 total. Skipping either one and destroying your CV axle shaft costs 2–3 times that, minimum. Add differential damage, and you are looking at a repair bill that exceeds the value of the lift itself.
Prevention is not expensive. Negligence is.
What Happens When a CV Axle Fails, Recognizing the Signs Early?
Catching CV axle failure symptoms early is the difference between a $50 CV axle boot repair and a $600 CV axle replacement. Here is what to watch for on a lifted Subaru:
Early Warning Signs
- Clicking when turning
This is the clearest sign of a failing outer CV joint. You will hear it most clearly during slow, tight turns, like parking lot maneuvers. The clicking gets louder as the joint deteriorates.
- Subaru vibration when accelerating
Not all vibration is alignment-related. Subaru vibration that appears only under acceleration, especially from a stop, often points to a failing inner CV joint struggling with the increased angle created by your lift.
- Grease on the wheel rim or behind the wheel
This means your CV axle boot has torn. The grease that protects the CV joint is leaking out. Once the grease is gone, joint failure follows within weeks under normal driving. Do not ignore this.
- Clunking over bumps
A loose or worn CV joint inside the axle shaft will clunk when the suspension compresses and rebounds. This is different from suspension clunk; it comes from the axle itself.
What a Bad CV Axle Looks Like
A visually inspectable bad CV axle shows:
- Torn or cracked CV axle boots
- Grease sprayed around the boot area
- Rust or scoring visible on the axle shaft near the joint
- Boot clamps that are broken or missing
How to tell if CV axle is bad without a lift: turn the wheel to full lock and drive slowly in a circle. If you hear clicking, the outer CV joint is failing.
How to tell if your CV axle is bad under load: accelerate firmly from a stop. Vibration under load points to the inner CV joint, the one most affected by steep angle operation post-lift.
Suspension System Components to Check After Any Subaru Lift
A suspension lift does not exist in isolation. When you change one suspension component, other parts experience new stress. Here is what to inspect after installing your Subaru lift kit:
|
Component |
What to Check |
When to Check |
|
CV axle boots |
Cracking, tears, grease leakage |
Before and 30 days after install |
|
Wheel bearing |
Noise, play in the hub |
At each oil change |
|
Front wheel hub assembly |
Play, roughness, noise |
At install and 6 months after |
|
Alignment |
Camber, caster, toe |
Immediately after install |
|
Strut condition |
Leaking, bouncing, noise |
At install |
|
Control arm bushings |
Cracking, play |
At install |
|
Tie rod ends |
Play, looseness |
At install |
Checking wheel hub assembly condition is especially important on Subarus. A worn wheel bearing combined with a lifted suspension creates compound stress on the CV axle shaft. If your wheel bearing has any play before the lift, replace it at the same time. The added angle from the lift will accelerate bearing failure significantly.
For broader guidance on keeping your vehicle suspension system healthy after modification, our blog on how to maintain your air ride suspension system covers maintenance principles that apply across suspension types.
Subaru Alignment Specs, What Your Alignment Shop Needs to Know?
Most alignment technicians do not see many lifted Subarus. Before you hand over your keys, give them these target specs for a 1.5"–2" lift:
Front Alignment Targets (Post-Lift)
|
Spec |
Factory |
Post-1.5" Lift Target |
Post-2" Lift Target |
|
Camber |
-0.45° ± 0.5° |
-0.75° to -1.0° |
-1.0° to -1.2° |
|
Caster |
+2.5° ± 0.5° |
+2.5° (maintain) |
+2.5° (maintain) |
|
Toe (per side) |
0° ± 0.1° |
0° to +0.05° |
0° to +0.08° |
Rear Alignment Targets (Post-Lift)
|
Spec |
Factory |
Post-Lift Target |
|
Camber |
-1.2° ± 0.5° |
-1.2° to -1.5° |
|
Toe (per side) |
+0.08° ± 0.1° |
+0.08° (maintain factory) |
Print this table and take it to your alignment shop. These targets keep your Subaru alignment specs in the range that minimizes axle angle stress while maintaining proper handling and tire wear.
Poor front end alignment after a lift is the leading cause of premature tire wear and, because it affects suspension geometry, the second leading cause of Subaru axle bind behind incorrect lift height.
Why True Suspension Is the Right Choice for Your Subaru Lift?
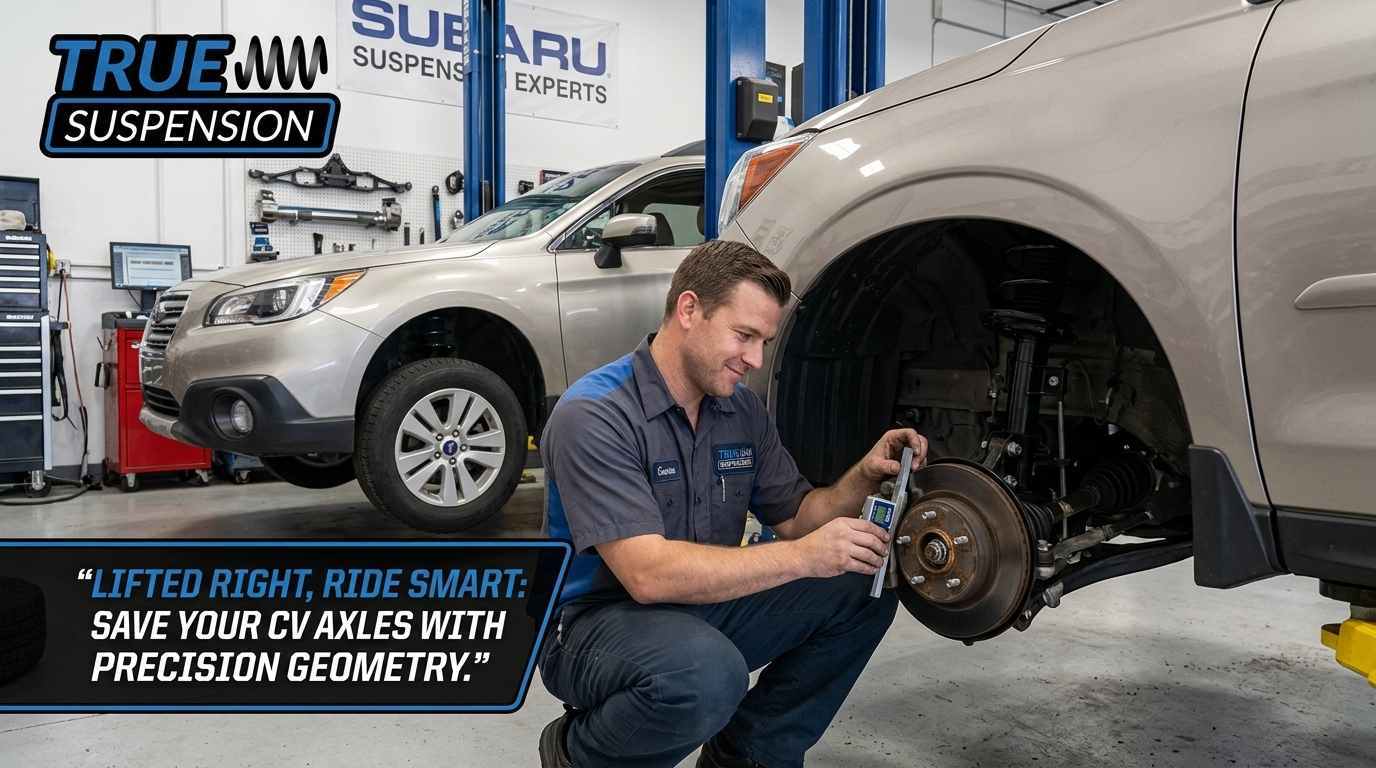
We are going to be direct here. There are a lot of Subaru lift kits on the market. Most of them are rebranded generic spacers with no model-specific engineering and no accountability for what happens to your CV axle after install.
True Suspension is different in three specific ways:
- We engineer for axle safety first
Every Subaru kit we sell is designed around the CV axle angle limits for each specific model. We do not sell a 3" lift for a Subaru Legacy and tell you it is safe. We tell you the truth about what works and what destroys drivetrains.
- We offer three lift heights for Subaru
Our 1-inch kit, 2-inch kit, and 3-inch kit each serve a different use case. The 1" kit is ideal for improved clearance and appearance. The 2" kit is the most popular; it delivers meaningful off-road capability within safe axle angle limits. The 3" kit requires awareness of the CV axle stress it introduces and is best paired with professional alignment work.
- We back our products with real knowledge
Our blog library, covering everything from choosing the right lift kit to understanding suspension upgrades, exists because we believe informed buyers make better decisions and have better outcomes. A customer who understands their suspension system is a customer who installs correctly and stays safe.
We do not just sell parts. We give you the knowledge to use them right.
Conclusion
Lifting a Subaru Outback or a Forester is absolutely achievable without destroying your CV axle. The difference between a successful lift and an expensive drivetrain repair comes down to three things: the right kit, the right lift height, and a proper alignment after install.
At True Suspension, we have engineered our Subaru lift kits specifically around CV axle safety. We offer precision-machined spacers in 1", 2", and 3" configurations for Subaru Impreza, Outback, Forester, Legacy, and Crosstrek, all built to keep your axle angle in a safe operating range, your suspension components in correct geometry, and your drivetrain intact.
Do not gamble on a generic kit and hope for the best. Choose parts engineered for your exact vehicle, get your Subaru alignment specs dialed in after install, and inspect your CV axle boots regularly. Do those three things and your lifted Subaru will give you years of improved clearance and off-road capability without a single Forester axle problem.
Browse our Subaru lift kits and start your build right.
Frequently Asked Questions
Q1: Will lifting my Subaru Outback void my warranty on the CV axles or drivetrain?
Installing aftermarket suspension components can affect warranty coverage on related drivetrain parts. Check with your dealer before install. Using a precision-engineered lift kit, not generic spacers, and maintaining correct Subaru alignment specs minimizes any legitimate warranty concern.
Q2: How do I know if my CV axle is bad after a lift?
Listen for clicking noise during tight turns, Subaru vibration under acceleration, or clunking over bumps. Visually inspect for grease leakage around the CV axle boots. These are the clearest bad CV axle symptoms on a lifted Subaru.
Q3: What is the maximum safe lift height for a Subaru Forester without replacing the CV axles?
For a Subaru Forester (2009–2017), 1.5"–2" is the practical safe range with stock CV axles and a quality spacer lift kit. Going above 2" significantly increases axle angle stress and requires additional assessment of your specific vehicle's condition.
Q4: Do I need a front end alignment after installing a Subaru lift kit?
Yes, always. Even a 1" lift changes camber, caster, and toe. A proper front and rear alignment after install is not optional. It protects your tires, your CV joint geometry, and your overall vehicle suspension performance.
Q5: How long do CV axles last on a lifted Subaru with proper installation?
With a quality lift kit, correct Subaru alignment specs post-install, and regular inspection of CV axle boots, stock CV axles on a properly lifted Subaru can last 60,000–100,000+ miles, comparable to an unmodified vehicle. The key is execution, not the lift itself.