
How to Calculate the Right Drop Height, Lowering Kit Sizing Guide
Getting the stance right on your truck or car starts with one critical question: how much drop is right for your build?
Too little and you barely notice a change. Too much and you're scraping driveways, damaging components, and fighting a rough ride every mile. Lowering Kit Sizing is not guesswork. It is a precision process, and knowing how to calculate the Right Drop Height before you buy a single part saves you money, time, and headaches.
At True Suspension, we have helped thousands of truck and car owners dial in the perfect drop. Our product range, expert guidance, and real-world application knowledge make us the most trusted name for suspension lowering solutions in the market. This guide walks you through every step, from measuring your current ride height to choosing the right kit, to understanding vehicle-specific fitment rules that most guides skip entirely.
Whether you are running a classic muscle car, a late-model pickup, or a daily-driving SUV, this Lowering Kit Sizing guide gives you the numbers, the logic, and the product confidence to do it right the first time.
Why Drop Height Calculation Matters More Than You Think?
Before anything else, understand this: drop height is not just about looks. It affects handling, braking, tire wear, CV axle angles, driveline geometry, and long-term component life.
A drop of 2 inches on one truck model can be perfectly safe. On another, the same 2-inch drop could put your CV joints at a dangerous angle or rub your tires under load. That is why learning to calculate the Right Drop Height is the foundation of any successful lowering project.
Here is what changes with a lowered suspension:
|
Factor |
Effect of Lowering |
|
Center of Gravity |
Drops, improving cornering stability |
|
Wheel Gap (Fender Clearance) |
Reduces, critical to measure carefully |
|
CV Axle Angle |
Steepens, can accelerate wear if excessive |
|
Driveline Angle |
Shifts, may introduce vibration if overdone |
|
Handling Response |
Improves with moderate drops (1–3 inches) |
|
Ride Quality |
Can stiffen, requires matched shocks |
|
Tire Clearance |
Reduces, especially during full suspension compression |
Getting your Lowering Kit Sizing right means all of these factors stay within safe operating ranges, and your build looks exactly the way you envisioned it.
Step 1: Measure Your Current Ride Height Correctly
The first step to calculating the Right Drop Height is knowing exactly where you are starting from.
What you need:
- A flat, level surface (a garage floor or driveway slab works)
- A tape measure
- A notepad or phone to record measurements
How to measure ride height:
- Park on a flat surface with the vehicle at normal load (no passengers, stock fuel level)
- Measure from the center of the wheel hub to the bottom of the fender lip vertically; this is your wheel gap measurement
- Record all four corners separately: front left, front right, rear left, rear right
- Compare the four measurements; factory vehicles often have slight asymmetry
Tip: Measure from the same reference point on every corner. The bottom of the fender lip to the wheel center is the most reliable and consistent measurement method.
Factory wheel gap benchmarks by vehicle type:
|
Vehicle Type |
Typical Factory Wheel Gap |
|
Full-size pickup truck |
9–11 inches |
|
Mid-size pickup truck |
8–10 inches |
|
SUV / large 4x4 |
10–12 inches |
|
Muscle car/pony car |
7–9 inches |
|
Classic car/sedan |
7–10 inches |
Record your measurements. These numbers are your baseline; everything else in this guide builds from here.
Step 2: Understand the Three Types of Drop Measurements
Not all drop measurements mean the same thing. When manufacturers say "2-inch drop," they could mean one of three things. Knowing the difference is essential for accurate Lowering Kit Sizing.
1. Suspension Drop (True Drop)
This is the actual reduction in ride height measured at the fender-to-wheel-center point. It is the most accurate and consumer-friendly measurement. If a kit says "2-inch drop" and means this, your wheel gap will reduce by exactly 2 inches.
2. Component Drop (Part Measurement)
This is the measurement of the part itself, for example, a lowering shackle that is 2 inches shorter than factory. Due to leverage ratios in leaf spring geometry, a 2-inch shackle drop may only produce a 1.5-inch suspension drop in practice.
3. Listed Manufacturer Drop
This is the number on the product listing. It is usually (but not always) the suspension drop. Always verify by reading product descriptions carefully or contacting the manufacturer.
At True Suspension, our product listings clearly state the real-world drop you will experience, not just the component dimension. That clarity is part of why our customers trust us when they need to calculate the Right Drop Height for their specific build.
Step 3: Calculate the Right Drop Height for Your Goal
Now comes the actual math. Here is how to calculate the Right Drop Height based on what you are trying to achieve.
Formula: Target Wheel Gap = Current Wheel Gap − Desired Drop
Example:
- Current wheel gap (rear): 10.5 inches
- Desired final wheel gap: 8 inches
- Required drop: 10.5 − 8 = 2.5 inches
That is the drop you need to shop for.
Drop Height by Build Goal
|
Build Goal |
Recommended Drop Range |
Notes |
|
Daily driver, subtle stance |
1–2 inches |
Minimal geometry change, maintains practicality |
|
Street performance |
2–3 inches |
Improves handling, requires matched shocks |
|
Truck leveling/rake correction |
1–2 inches front or rear |
Common on newer trucks with factory rake |
|
Aggressive street stance |
3–4 inches |
Requires careful clearance checks |
|
Show/stance build |
4+ inches |
Requires frame notching, full geometry rebuild |
|
Classic car resto-mod |
2–4 inches |
Air ride recommended for adjustability |
For most truck lowering builds, the sweet spot is 2–3 inches at the rear and 1–2 inches at the front. This corrects the factory nose-up rake while keeping geometry safe and the ride usable on real roads.
For most classic car builds, especially lowering builds on vehicles like the Chevy Impala, Ford Galaxie, or Ford Falcon, the approach is more aggressive. Many classic owners opt for 3–5 inches of drop, and many choose air ride systems for the ability to adjust height on demand.
Step 4: Check Clearances Before You Buy
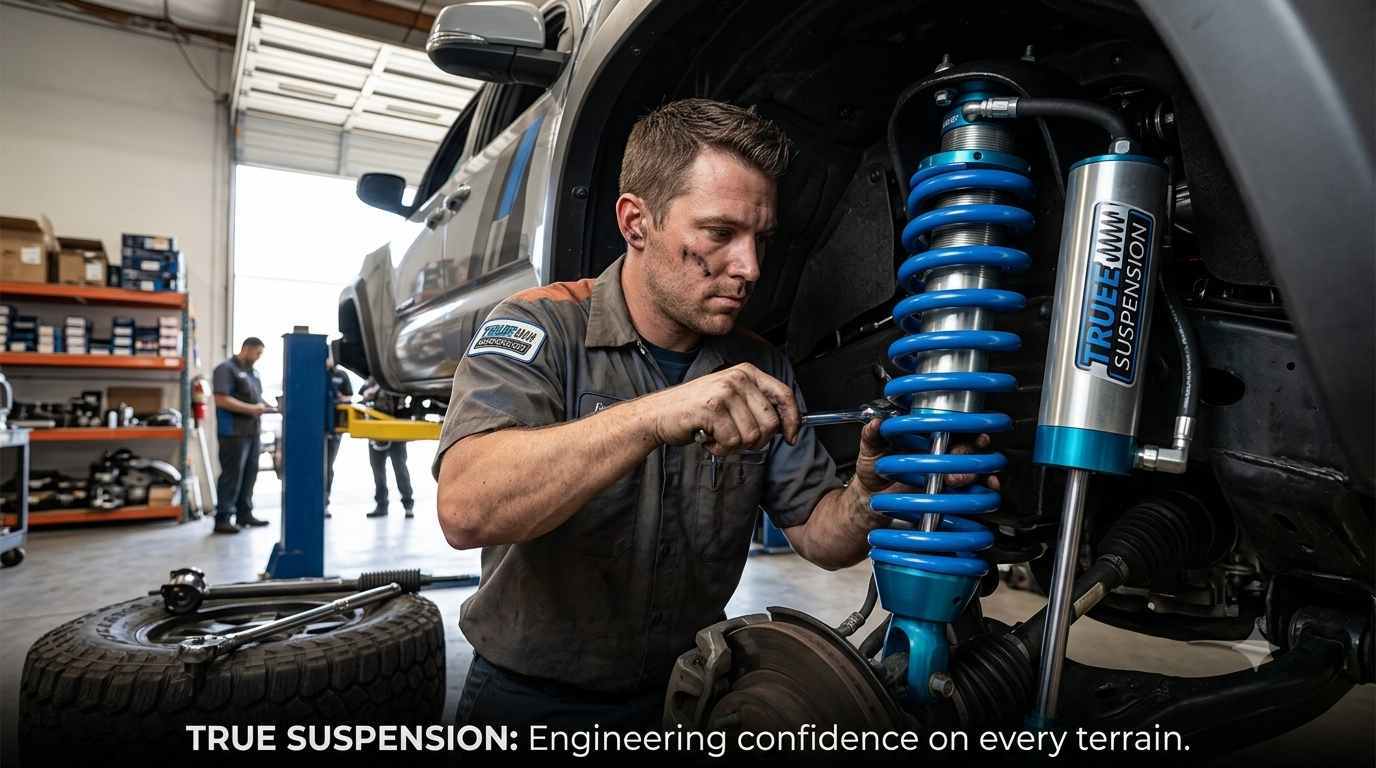
Buying a lowering kit without checking clearances first is one of the most expensive mistakes truck and car owners make. These are the four critical clearance checks you must perform:
1. Tire-to-Fender Clearance
Lower the vehicle the intended amount on jack stands. Compress the suspension by hand (or have someone push down on the corner). Check that the tire does not contact the fender liner at full compression. Minimum safe clearance: 0.5 inches at full compression.
2. Tire-to-Control Arm / Frame Clearance
Check the inside of the wheel well. On lowered trucks, tires can contact the frame or inner fender at full steering lock. Turn the wheels lock-to-lock while checking.
3. Frame-to-Ground Clearance
After installing your kit, measure from the lowest point of the frame (or chassis) to the ground. Minimum recommended clearance: 4 inches for street use. Anything under that risks bottoming out on speed bumps or driveways.
4. Driveline and CV Angle
For 4WD and AWD trucks, check that the CV axle angle at ride height stays within the manufacturer's safe operating range, typically under 20–25 degrees. Excessive angle accelerates joint wear dramatically.
Step 5: Choose the Right Lowering Kit Components
Once you have your target drop height and clearances verified, it is time to select the right components. True Suspension offers a complete range of lowering shackles, lowering blocks, drop coil springs, lowering coilovers, and complete kits matched to your specific vehicle.
Common Lowering Kit Components by Application
|
Component |
Best For |
Typical Drop |
|
Lowering shackles |
Rear leaf spring trucks |
1–2.5 inches |
|
Lowering blocks + U-bolts |
Rear leaf spring trucks |
1–4 inches |
|
Drop spindles |
Front I-beam trucks (classic) |
2–4 inches |
|
Lowering coil spring spacers |
Front strut vehicles |
1–2 inches |
|
Lowering coil springs |
Cars, strut vehicles |
1.5–3 inches |
|
Complete lowering kit |
Matching front + rear drop |
Varies by kit |
True Suspension's complete lowering kits for Dodge Ram 2500/3500 are a perfect example of a matched-component solution. Rather than mixing parts from different brands (which can create mismatched drop heights), our kits are engineered and tested together to deliver the advertised drop consistently across vehicles.
Shackle vs. Block, Pros and Cons
|
Method |
Pros |
Cons |
|
Lowering shackles |
Factory-style look, good for 1–2" |
Limited drop range |
|
Lowering blocks |
Greater drop range, simple install |
Requires matched U-bolts, over-rotation risk |
|
Drop spindles |
Maintains suspension travel |
More expensive, front-only |
|
Coil spring spacers |
Budget-friendly |
May stiffen ride |
|
Air ride |
Fully adjustable, show-quality stance |
Higher cost, more complex install |
Step 6, Match Your Shocks to Your Drop Height
This is the most overlooked step in Lowering Kit Sizing, and it is the one that causes the most post-install complaints.
Lowering your vehicle changes the shock travel requirements. If you run stock-length shocks with a 2-inch drop, those shocks will be extended beyond their designed range at rest. This causes the shocks to bind, reduces their effectiveness, and shortens their life dramatically.
The rule is simple: always pair lowering hardware with matched-length shocks.
True Suspension carries a full range of matched shocks for lowered vehicles. Our kits frequently include Pro Comp ES9000 nitrogen-charged shocks sized specifically for the drop height in that kit, which is why our customers report better ride quality compared to mixing components from different sources.
Shock length mismatch symptoms:
- Harsh, choppy ride at low speeds
- Bottoming out over bumps
- Premature shock wear or failure
- Handling that feels "loose" or wandering
If you have already lowered your truck and are experiencing these issues, check your shock length first. True Suspension's full selection of matched lowering shocks can solve this problem without requiring you to remove your lowering hardware.
Vehicle-Specific Drop Height Guides
Lowering Kit Sizing varies by vehicle platform. Here are the most common applications and the recommended approach for each.
Ford F-150 / F-250 / F-350
Ford pickup trucks from the 2000s onward typically carry a factory nose-up rake of 1–1.5 inches. The rear sits higher than the front from the factory, a design choice to accommodate payload without looking loaded.
Recommended approach:
- Rear: 2-inch lowering shackles or blocks to level the stance
- Front: 1–1.5-inch drop to match or maintain level
- Result: Level, aggressive stance without excessive geometry change
For F-250 and F-350 trucks that tow regularly, consider our Ford F-250 rear lowering shackle kits, engineered to level the truck while maintaining safe leaf spring geometry under load.
To get started on calculating the right drop for your Ford, read our guide on lift kits vs leveling kits; it explains factory rake correction in detail.
Chevy Silverado / GMC Sierra 1500, 2500, 3500
GM full-size trucks respond well to 1–2 inch rear drops via shackles or blocks. The C/K platform (1988–1998) and newer OBS trucks are especially popular lowering candidates.
Key consideration: 4WD variants have more limited drop range due to CV axle angles. Keep drops to 2 inches maximum on 4WD trucks unless you are willing to upgrade CV shafts.
For 2WD Silverado/Sierra owners, the drop range is wider, up to 3 inches rear is achievable with the right shackle-and-block combination. True Suspension offers Chevy Silverado rear lowering shackles covering multiple generations, built to OEM-match specifications for safe, rattle-free fitment.
Dodge Ram 1500 / 2500 / 3500
Dodge Ram trucks, especially the 2002–2008 and 2009–2018 generations, are popular lowering platforms. The coil spring rear suspension on many Ram 1500 models makes drop calculations slightly different from leaf-spring trucks.
For Ram 1500 (coil rear): Use rear coil spring spacers or drop springs. A 1.5–2 inch drop is achievable without changing geometry significantly.
For Ram 2500/3500 (leaf rear): Shackles and/or blocks work well. A 2-inch drop is common and well-supported by our kit lineup.
Check our Dodge Ram 2500/3500 lowering shackle kits for matched, vehicle-specific solutions. Our kits include all hardware needed, no hunting for separate U-bolts or hangers.
Chevy Impala, Ford Galaxie, Ford Falcon, Ford Fairlane
Classic car lowering Kit Sizing follows different rules than modern trucks. These vehicles were designed with far more wheel gap than modern cars, making drops of 3–5 inches not just possible but common on show builds.
The challenge with classic cars: Many have leaf springs front and rear (unlike modern strut vehicles), and the geometry of a leaf spring drop interacts differently with the vehicle's body roll characteristics.
Options for classic car lowering,
- Lowering springs, direct replacement, moderate drop (2–3 inches)
- Drop spindles, front-only drop while maintaining suspension travel
- Shackle and hanger combos, rear drop with bolt-on simplicity
- Air ride suspension, the gold standard for classic builds, fully adjustable
For show-quality builds, True Suspension's complete air ride suspension systems for classic cars eliminate the compromise between "slammed at shows" and "drivable on the road." You get both, and you control the height at the push of a button.
To see what air ride looks like on builds like yours, read our blog on the top 10 classic cars on air ride that look incredible.
Air Ride vs. Static Drop
One of the biggest decisions in any lowering project is whether to go static (fixed drop height) or air ride (adjustable height). This decision affects your budget, your install complexity, and your daily usability.
|
Feature |
Static Lowering Kit |
Air Ride Suspension |
|
Cost |
Lower ($50–$400 for kits) |
Higher ($500–$2,500+) |
|
Install Complexity |
Low to moderate |
Moderate to high |
|
Adjustability |
None, fixed drop |
Fully adjustable from cab |
|
Ride Quality |
Depends on component match |
Excellent with proper setup |
|
Daily Usability |
Limited at extreme drops |
High, raise for speed bumps |
|
Show / Competition Use |
Fixed stance only |
Lay frame on demand |
|
Maintenance |
Minimal |
Compressor, bags, air lines |
For trucks used daily or for towing, a static lowering kit with matched shocks is the most practical and cost-effective solution. For show vehicles or builds where versatility matters, air ride is worth every dollar.
True Suspension carries both. Our air ride tow-assist kits for trucks combine load-leveling with a lowered stance, perfect for truck owners who want stance and functionality.
For a detailed comparison, read our blog on air ride suspension vs coilovers.
Why Drop Height Precision Matters?
These numbers underscore why accurate Lowering Kit Sizing is not optional:
- 73% of suspension-related alignment complaints come from incorrect drop height (mismatched front-to-rear drop)
- A CV axle operating at over 25 degrees has a service life 40–60% shorter than one at factory angle
- Vehicles with shocks that are 2+ inches too long for their drop height experience 3× more shock failures within the first 12 months
- A rear drop that is 1 inch more than the front creates a nose-up rake, the exact opposite of the effect most owners want
- 82% of DIY lowering complaints involve shocks that were not replaced or resized to match the drop
These numbers confirm what experienced builders already know: Calculate the Right Drop Height before you buy, and match every component to that calculation.
Why We Are the Right Partner for Your Build?
When you choose True Suspension, you are not just buying parts. You are buying engineering knowledge, fitment accuracy, and complete-kit confidence that most other suppliers cannot match.
Here is what sets us apart:
✓ Vehicle-specific fitment: Every kit is engineered for a specific year/make/model, not generic "fits most" approximations.
✓ Complete kits with matched hardware, Our kits include shackles, blocks, U-bolts, and shocks together, so you never have mismatched components.
✓ Clear drop height labeling. We list real-world drop heights, not just component dimensions, so your Lowering Kit Sizing is accurate before you order.
✓ Broad range of applications, From a 1958 Chevy Bel Air to a 2021 Toyota Tundra, we have kits engineered specifically for your vehicle.
✓ Expert-backed product selection, Our product range reflects real-world testing across hundreds of builds.
✓ Proven shock compatibility. Where applicable, our kits include Pro Comp ES9000 nitrogen-charged shocks pre-matched to the drop height of that kit.
✓ Air ride options for every application. From classic muscle cars to modern heavy-duty trucks, we offer complete air ride suspension systems for every platform.
For reference on maintaining ride quality after lowering, check our blog on the top 10 ways to maintain factory ride quality after installing a lift or lowering kit.
Lowering Kit Sizing, Quick Reference Chart
Use this chart to quickly identify the right drop range for your vehicle and build goal.
|
Vehicle |
Build Goal |
Recommended Rear Drop |
Recommended Front Drop |
Kit Type |
|
F-150 (2004–2017) 2WD |
Level stance |
2 inches |
0–1 inch |
Shackles + blocks |
|
F-250/F-350 (2008–2016) 2WD |
Level + low |
2 inches |
1 inch |
Shackles |
|
Silverado 1500 (1999–2006) 2WD |
Street stance |
2–3 inches |
1–2 inches |
Shackles + blocks + matched shocks |
|
Silverado 1500 (2007–2018) 2WD |
Daily driver level |
2 inches |
1 inch |
Shackles |
|
Dodge Ram 1500 (2009–2017) 2WD |
Leveled |
1.5–2 inches |
1–1.5 inches |
Coil spacers + blocks |
|
Dodge Ram 2500/3500 (2003–2013) 2WD |
Leveled |
2 inches |
0–1 inch |
Shackles |
|
Classic car (leaf front/rear) |
Show drop |
3–4 inches |
2–3 inches |
Drop springs or air ride |
|
Classic car (coil front, leaf rear) |
Street stance |
2–3 inches rear |
2 inches front |
Drop springs + shackles |
|
Toyota Tundra (2007–2021) 2WD |
Level |
2 inches rear |
1 inch front |
Shackles |
|
Nissan Frontier (2005–2019) 2WD/4WD |
Leveled |
2 inches |
1–2 inches |
Shackles + spacers |
Common Mistakes When Calculating Drop Height
Even experienced builders make these errors. Avoid them:
- Not accounting for factory rake. Factory trucks sit nose-up. If you only drop the rear, you make the rake worse, not better. Always plan front and rear drops together.
- Buying the drop before measuring. Measuring takes 15 minutes. Skipping it can cost you hundreds in wrong parts. Always measure first.
- Ignoring tire size. If you are running larger-than-stock tires, they take up more fender clearance. A 2-inch drop on 33-inch tires behaves very differently than the same drop on factory tires.
- Not checking alignment specs: Every lowered vehicle needs a four-wheel alignment after installation. Skipping this accelerates tire wear and compromises handling.
- Mixing drop heights front and rear without checking driveline angles. A 3-inch rear drop with a 1-inch front drop creates a nose-up appearance and a steep driveshaft angle. Check driveline geometry, especially on 4WD trucks.
- Overlooking the rubber block vs. air ride decision: If you are on the fence, read our guide on rubber block vs. air ride suspension before committing. It could change your entire approach.
How to Verify Your Drop Height After Installation?
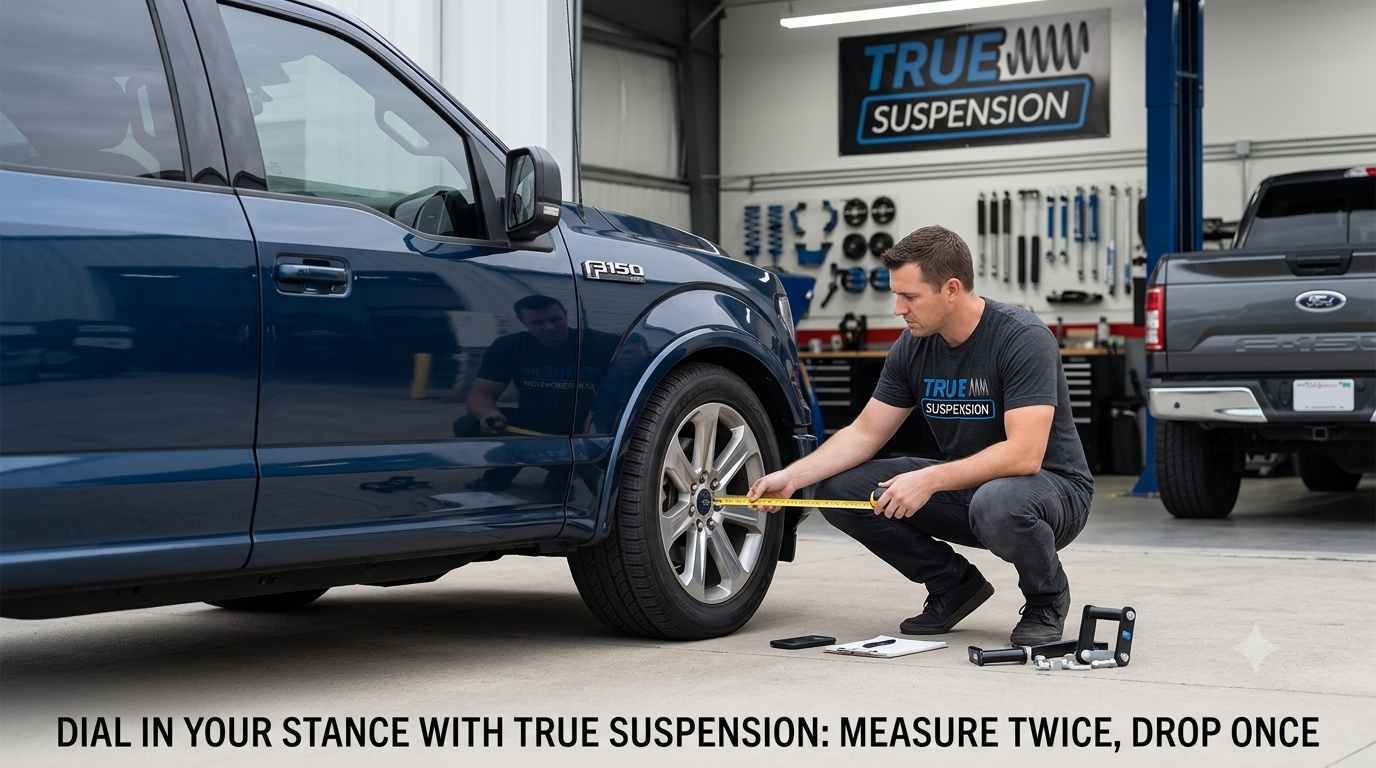
After installing your lowering kit, verify the results with these steps:
- Park on the same flat surface you used for baseline measurements
- Allow the vehicle to settle (bounce each corner 3 times and let it rest)
- Re-measure wheel gap at all four corners
- Compare to your baseline measurements
- Calculate the actual drop achieved: Baseline − New Measurement = Actual Drop
- Compare actual drop to advertised drop; within 0.25 inches is acceptable
- Book a four-wheel alignment within 500 miles of installation
If your actual drop is significantly different from advertised, contact True Suspension's customer service team. We stand behind our products and our specifications.
Conclusion
Lowering Kit Sizing is a precise science, not a guessing game. When you calculate the Right Drop Height using the steps in this guide, measuring your baseline, understanding drop types, checking clearances, and matching components, you get the stance you want, the ride quality you need, and the confidence that every part is working exactly as designed.
True Suspension makes every step of this process easier. Our vehicle-specific kits, matched shock pairings, clear drop height labeling, and complete hardware packages remove the complexity from the build process. Whether you are leveling a late-model truck, achieving an aggressive street drop, or building a show-quality classic on air ride, we have the exact components and the knowledge to get you there.
Browse True Suspension's complete lowering kit lineup, pick your vehicle, and let the numbers guide you. Your perfect drop height is just a measurement and a quality kit away.
Frequently Asked Questions
Q1: How do I calculate the Right Drop Height for my truck without a lift?
Measure the fender-to-wheel-center gap on a flat surface. Subtract your target wheel gap from that number. The result is the drop height you need. True Suspension kits are labeled to match this measurement directly.
Q2: Is Lowering Kit Sizing different for 2WD vs 4WD trucks?
Yes. On 4WD trucks, CV axle angles limit safe drop to around 2 inches at the front. On 2WD trucks, drops of 3 inches or more are achievable without geometry concerns. Always confirm fitment by drivetrain.
Q3: Do I need new shocks when I install a lowering kit?
Yes, almost always. Stock-length shocks will be over-extended at a lowered ride height, causing bind, reduced performance, and early failure. Always use matched-length shocks with your lowering hardware for best results.
Q4: Can I mix a 3-inch rear drop with a 1-inch front drop for a level stance?
This depends on your truck's factory rake. Most trucks need a 1.5–2.5-inch rear drop combined with a 0–1-inch front drop to achieve a level stance. Measure your factory rake first before deciding on front and rear drops independently.
Q5: What is the best lowering kit for a classic car I want to show and drive daily?
Air ride suspension is the best solution. It lets you lay the vehicle low at shows and raise it to a comfortable cruising height for daily use. True Suspension offers complete classic car air ride systems for vehicles including the Impala, Galaxie, Falcon, and Fairlane.